Important note: Our Zapier v2 App is now available, get an invitation here .
You should use this new app as the old one will be revoked soon.
What you need:
• Zapier account
• INinbox account
• HotspotSystem.com API key
1. Turn on the "Subscribe to our newsletter" data capture field
You need to turn on the "Subscribe to our newsletter" data capture field in your hotspot from the Control Center > Manage > Locations > click on name > Modify Hotspot Data > Data Capture:

If you turn this on, there will be a "Subscribe to our E-Newsletter" checkbox for every new customer. You can modify this text of course to like "Get new offers from our shop" or any text related to your business by modifien the language file in your skin (signup_cc newsletter tag).
NOTE: If you would like to signup all customers without showing them the "Subscribe to our E-Newsletter" option, you need to use the "New Customer" action when you select the trigger on Zapier (steps below)!
2. Add a New Zap at Zapier
Go to this page to start a new Zap (or click on Make a Zap at the top of the page at zapier).
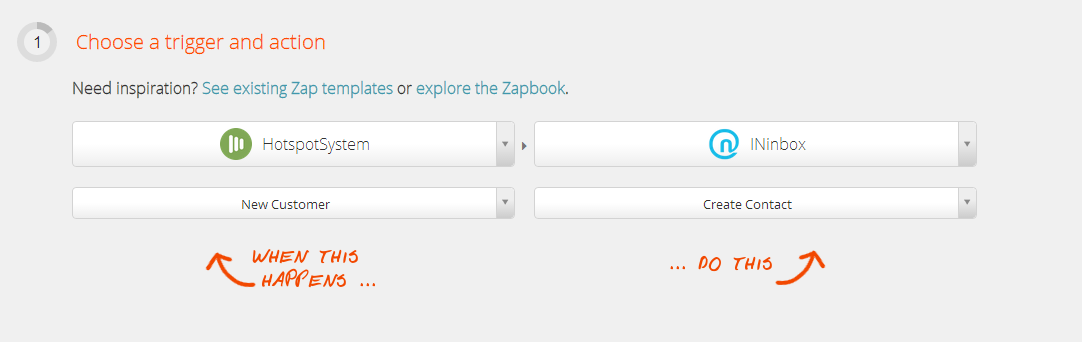
3. Choose Trigger and Action
From the left side, choose HotspotSystem.com as a trigger. Choose "New Customer" if you want to add all customers to your email list. Choose "New Subscriber" if you only want to add those customers who checks the "Subscribe to newsletter" checkbox on the splash page. From the right side, choose INnbox and choose "Create Contact".
4. Add your HotspotSystem account by adding your API Key.
Your API key can be generated from the Control Center, under Tools > API Keys. You can use any API keys you created, including API keys for secondary operators.

5. Select an INinbox account.
Your INinbox API key can be found by clicking on "Account settings / API" on INinbox website and click generate a new API.
6. Filter your locations (optional)
Optionally you may want to define a filter to add subscribers from only a specific location, or only those customers whose email exists. You can also use Locations Groups if you defined them in the Control Center. If you used an API Key which is created for a secondary operator, then only those customers will receive emails that are assigned to the secondary operator.

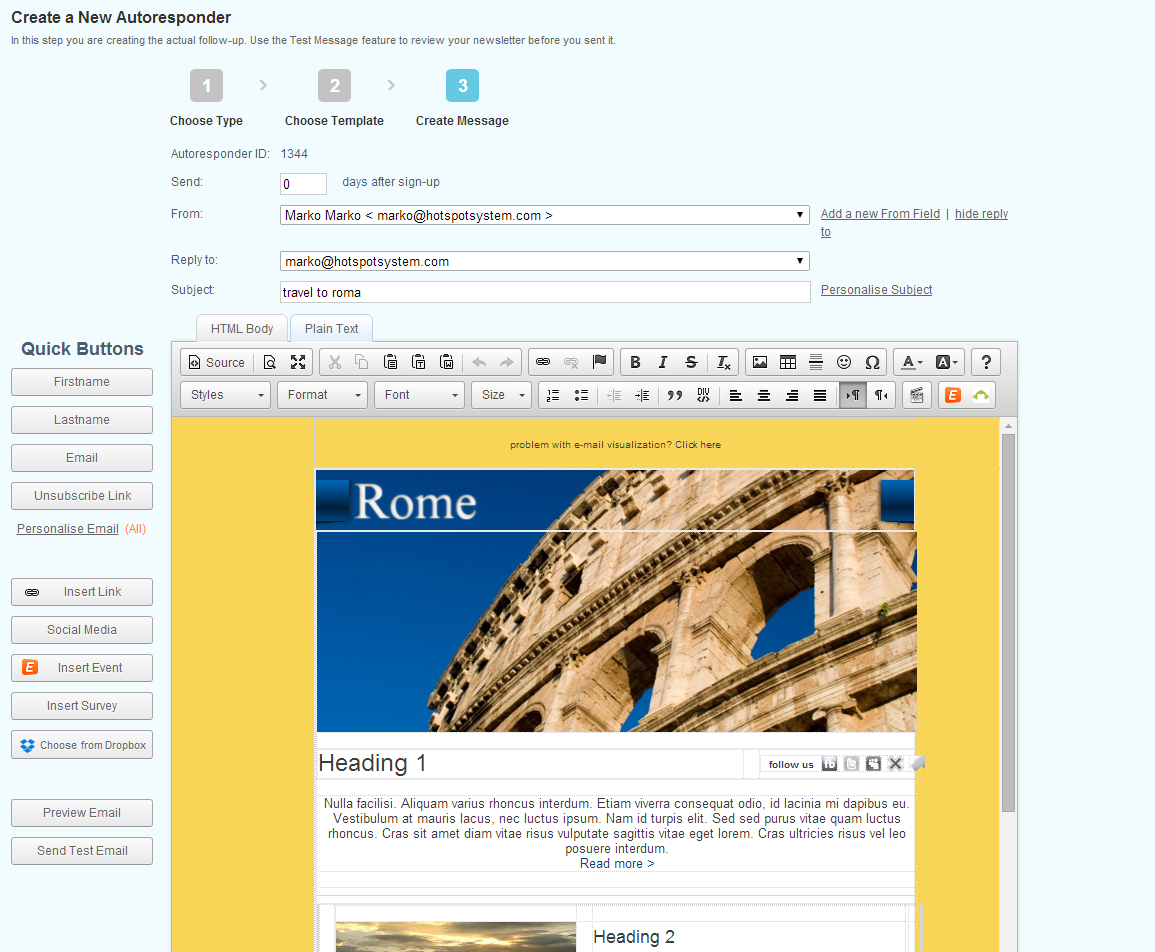
7. Create the list and your auto responder at INinbox.
At INinbox, you need 2 steps: create an email list (first icon), and create an auto responder sequence (3rd icon).
When you create an autoresponder be sure to Publish it! If the main icon doesn’t work, under recently created list check the autoresponder column and click add.
8. Match up HotspotSystem customer to an INinbox contact
You can match INinbox fields with HotspotSystem values by clicking on "Insert [HotspotSystem icon] fields" on the right, next to each field. HotspotSystem.com stores First Name and Last Name as "name" so you may want to add a "Full Name" field to your Mailchimp list first so you can use this tag in your campaign. Or you can just use "First Name" as the full name. You can also select the list you have created previously at INinbox.
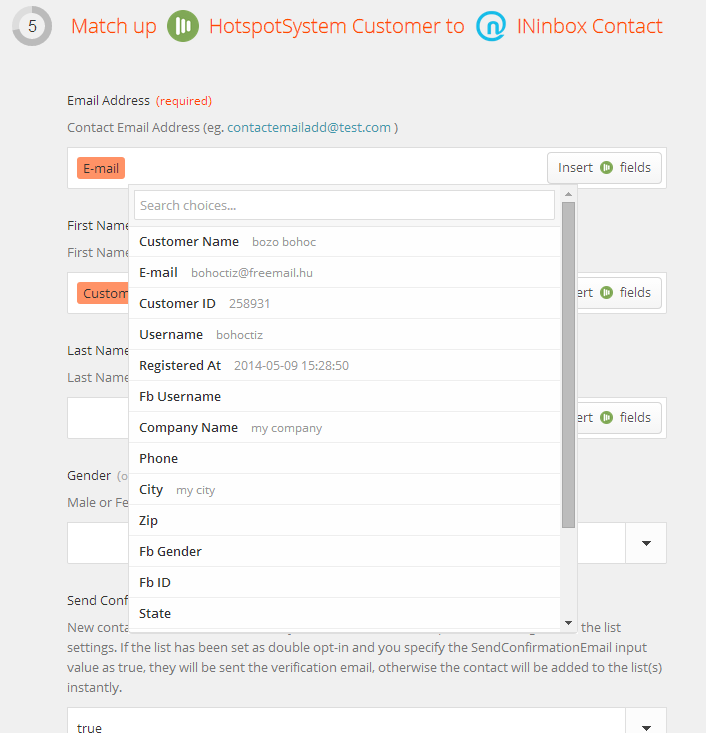
Then choose your INinbox list, then click in to the email filed and choose "Email" from the list and you may also wish to integrate the customer's name to INinbox, either as "First Name" or the custom "Full Name" if you added this filed previously.
9. You can try out your Zap if there are existing subscribers, then click on "Make Zap Live" to enable it.
That's It!
If everything is working well, Zapier will pull out any new subscribers periodically, which will appear in INinbox with a few minutes delay.
Don't forget to handle unsubscribers with an Unsubscribe ZAP!